4 Easy Steps to Applying White Coatings Over an EPDM Roof
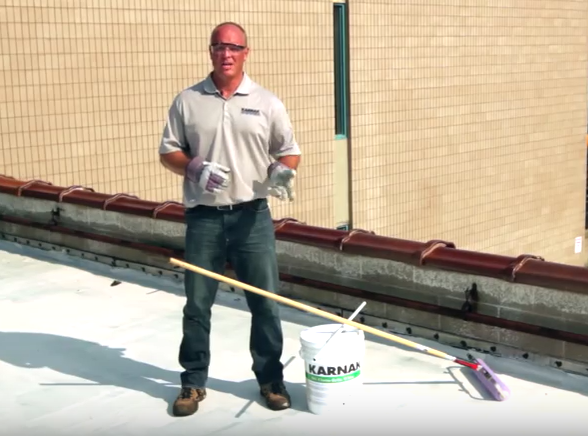
By Chris Huettig, KARNAK.
A new, white roof coating will lower the roof surface temperature, thereby reducing the thermal shock to the roof, which helps to increase the roofs’ service life. It also means improved energy efficiency.
1 – Clean the roof. The first thing that you will want to do is make sure that the roof is as clean before the coatings are applied. The cleaner the roof is, the better adhesion the coatings will have in order to provide long service life. Before getting started with cleaning, be sure you are using the proper safety equipment including gloves and safety glasses.
Get started by applying KARNAK 507 SPC Primer/Wash to the EPDM roof. This water-based primer and cleaner will safely clean and prep the EPDM roof that is about to be coated. To apply the 507, you will need a Hudson-type sprayer, a stiff bristle brush to remove and loosen dirt as well as a hose or pressure washer if available. Before applying the product use the broom to remove any leaves, dirt or debris.
Next, pour the 507 SPC Primer/Wash directly into the sprayer – there is no need to stir or mix anything. Take the sprayer and apply it to the roof at an application rate of 500 sq. ft. per gallon. After letting it sit for about 10 to 15 minutes, you’ll want to use the hose or pressure wash to wash off the cleaner. Start washing up the slope roof then back down to completely remove all residues. You will want to make sure to read all product data and safety information prior to using. Once the roof is completely dry you are ready for the next step.
2 – Inspect the roof. Be sure to check the roof once it is clean and dry and perform any repairs. KARNAK 550 Patch-N-Go Fleece Tape or 5540 Resat-Mat and 505MS Karna-Flex WB are an ideal solution to patch any areas that may be cracked or potentially failing.
3 – Apply the base coat. It’s important to use the specialty base coat, 407, that was formulated specifically for EPDM and SPF roofs. You’ll need to have a stick or mechanical mixer to stir the product before application, a four-inch brush to cut in around the perimeter and any curbs or penetrations, along with a ½” nap roller to apply the base coating. If using a mechanical mixer be sure to mix it lightly so as not to introduce air into the product. The coverage rate for the base coat is 1 ½ gallons per 100 square feet.
Apply the 407 in one direction when you’re rolling. The special acrylic polymers in the 407 creates great adhesion to the EPDM membrane. When that dries, apply the finish coat perpendicular to the base coat.
4 – Apply the finish coat. After curing for 24 hours, any of KARNAK’s white acrylic coatings can be applied over the 407 base coat. In this video demonstration, we used the 501 Elasto-Brite Finish Coat White, a highly reflective white roof coating that is ENERGY STAR rated and certified by the Cool Roof Ratings Council. It’s an acrylic elastomeric, meaning that it can expand and contract with the roof’s surface.
To apply the 501 finish coat, you will need the same tools as you used for the 407 base coat - a mixing stick or mechanical mixer, four-inch brush and a ½” nap roller. Just as with the base coat, if you use a mechanical mixer, use a low speed so you don’t introduce air into the product.
Simply pour the product onto the roof, using the roller to spread. Don’t forget to put it on perpendicular to the direction that the base coat was applied. Once the finish coat is applied the project is complete. The roof membrane has been coated with an additional layer of protection to help improve reflectivity, reduce thermal shock and extend its service life.
Learn more about KARNAK coating solutions. Did you get your free KARNAK emergency repair kit? Request yours here.














Comments
Leave a Reply
Have an account? Login to leave a comment!
Sign In