How to Repair Leaks Under Water While it is Raining

By Chris Huettig, KARNAK.
Stopping a leak when it is raining can be frustrating and challenging – unless you have the right emergency repair product.
You’ve been there right? It’s been raining for days and you receive a frantic call from your customer that their roof is leaking. When you get up onto the roof, you discover that there is ponded water in the spot where the leak is occurring. Here’s what you need to stop the leak.
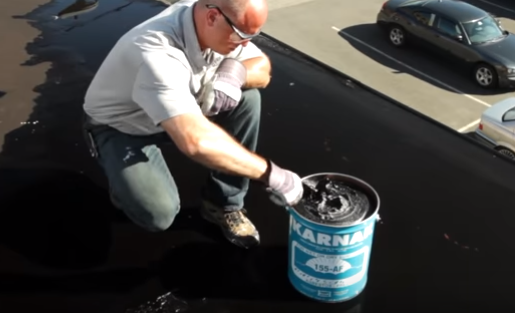
You’ll want to have a whisk broom or a brush to clean the dirt and debris from the surface, a trowel, some KARNAK 31 Fiberglass Membrane and KARNAK 155 Amphibikote.
155 Amphibikote is a wonderful product for making repairs on wet surfaces and underwater. It is a carefully prepared, emergency roof cement with special water-displacing characteristics, which ensures an effective bond to both wet and dry surfaces.
The ability to adhere during inclement weather conditions makes 155 Amphibikote the first choice of both roofing contractors and plant engineers. 155 Amphibikote is composed of selected asphalts, mineral fillers combined with refined solvent, and special chemical ingredients which give it a unique water displacement quality.
How to make the repair: Start by using the whisk broom to sweep away any dirt or debris. Then, using your trowel, spread a ¼” thickness of 155 Amphibikote. After spreading the product, embed a six-inch wide piece of 31 Fiberglass Membrane into the product using your trowel. Be sure to extend the flashing cement an inch out on each side. Once the 31 Fiberglass is in place, use your trowel to apply another ¼” thick layer of 155 Amphibikote on top and feather it out onto the roof, ensuring that all the fabric is completely embedded.
Sometimes it is easier to watch how to do it instead of reading about it so we’ve prepared this 90-second video to show you exactly how to stop that leak.
Request your FREE Emergency Repair Kit from KARNAK and you’ll get to try some of our other emergency repair products.


Comments
Leave a Reply
Have an account? Login to leave a comment!
Sign In