


Time For A Website Update
Learn More
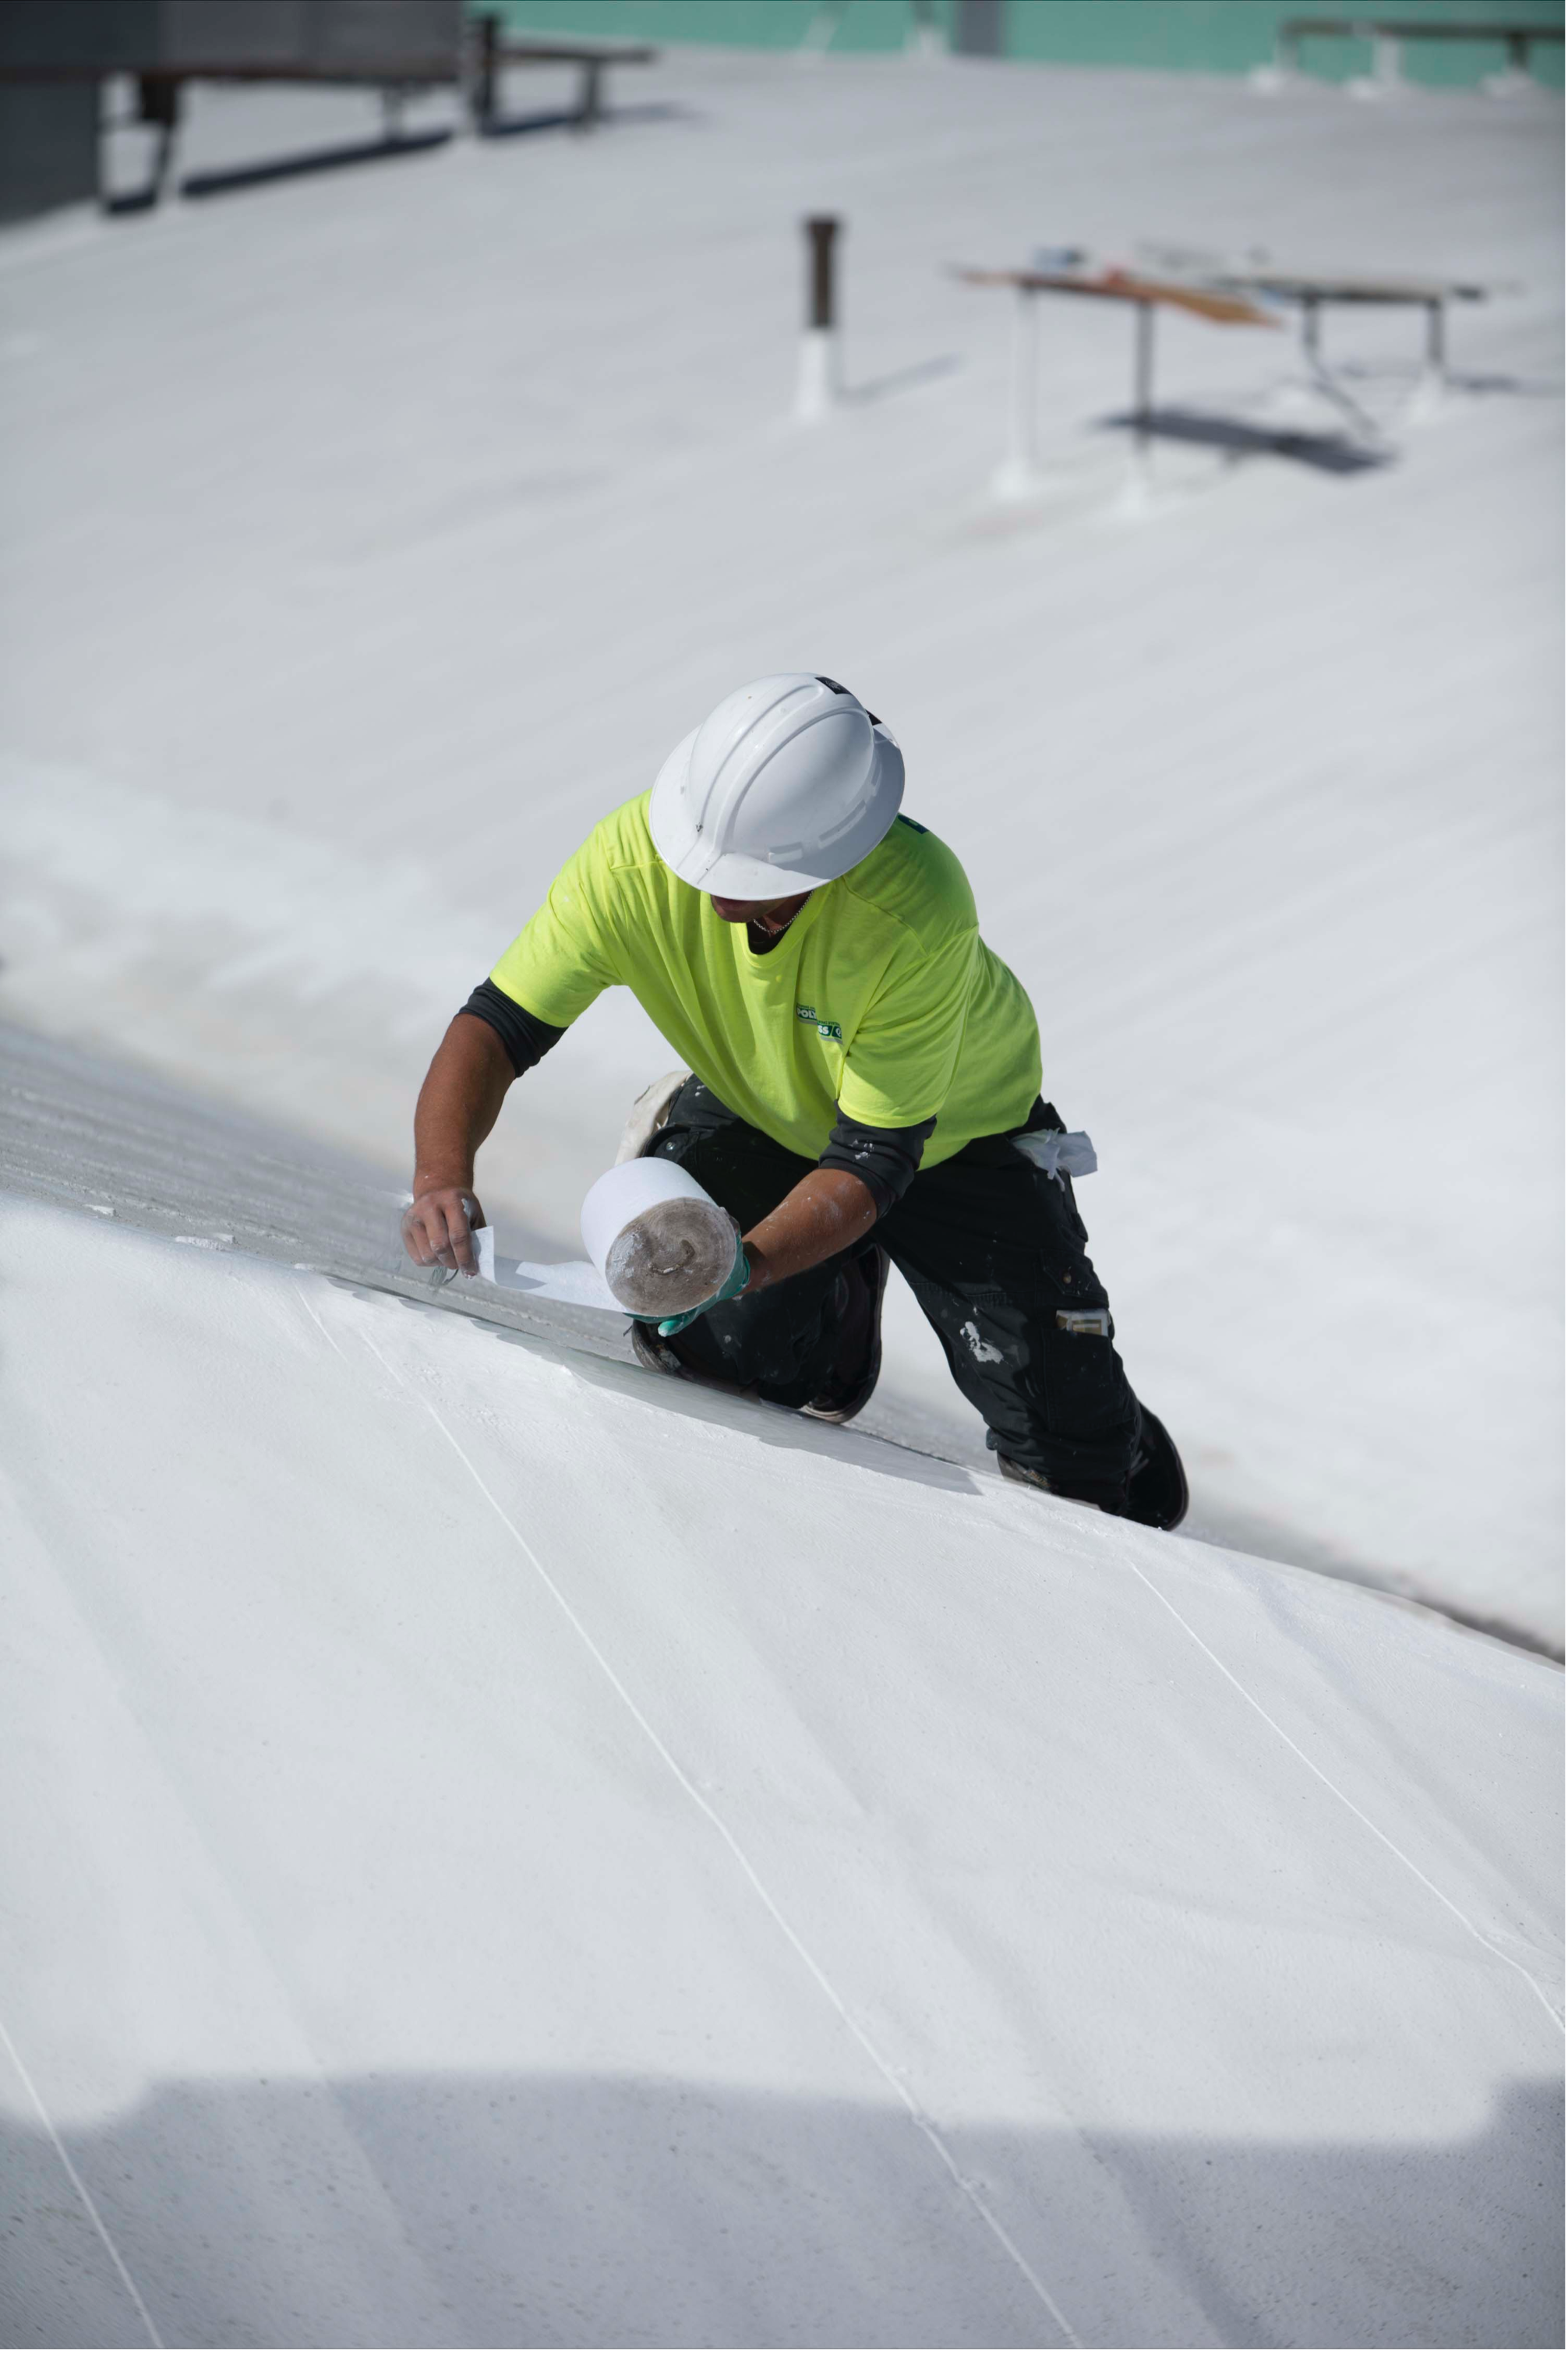
5 steps to maintaining and repairing a silicone-coated roof

By Polyglass.
With proper planning and practice, repairing a silicone coating is a quick and easy process.
As with every type of roof, a silicone-coated roof must be repaired and maintained properly to ensure the best performance. It’s not uncommon for this type of roof to have seams or details in the original coating that have split or cracked over time. As we come out of the colder months, this is even more common. The same thermal shock that causes damage such as potholes on roads can also cause damage to coatings on roofs.
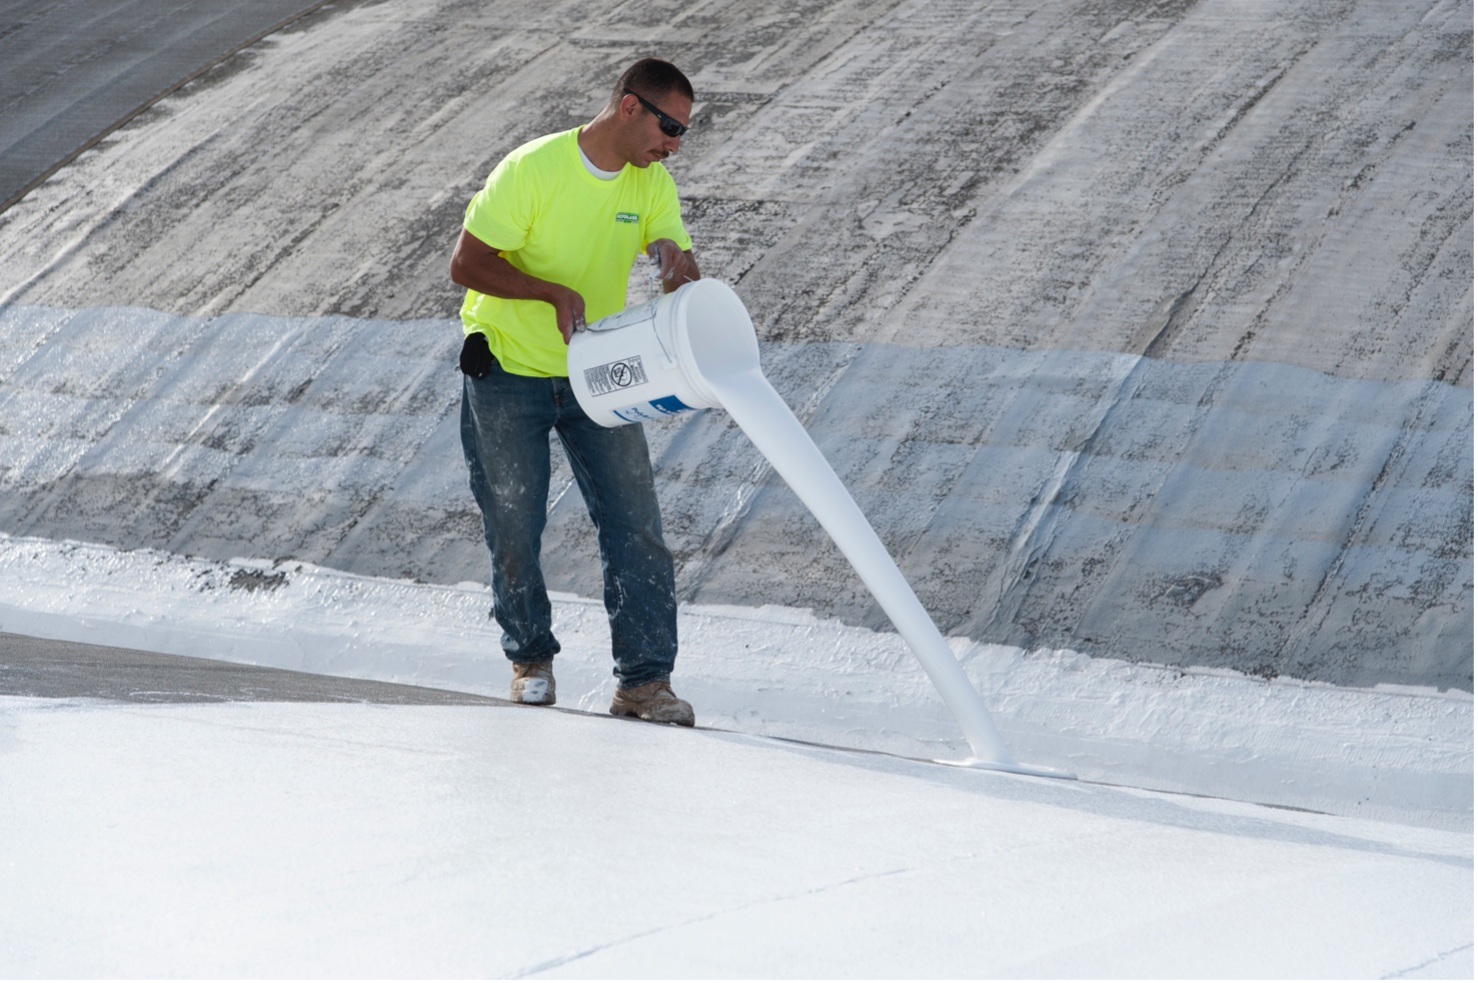
Spring is a common time to do these repairs, before the stress of the summer months and hot weather can damage the roofs further. The first step to any repair begins before getting on the roof — it starts with picking the right tools on the ground. A general rule of thumb is that the only thing that can repair or recoat a silicone coating is more silicone, and even that must be carefully chosen. The experts at Polyglass advice using the same material as the original silicone to avoid issues and to apply a small test sample if at all unsure. Beyond that, there are certain materials and tools needed for a repair like this, such as:
- PolyBrite® 90 (solvent-based for repairs) or PolyBrite® 95 (for thin material with a 10% acetone solvent)
- Reinforcing fabric
- Commercial cleaner
- Wiping cloth
- Clean plastic container
- Acetone Solvent
- Scotch-Brite™ or another brand abrasive scrubber
- High-quality brushes and rollers
After you get your supplies together, it’s time to get on the roof!
1 - Clean, clean, clean!
Always clean the area before applying solvent for preparation. Silicone is an excellent material. It is flexible, chemical and water-resistant. It’s also soft, a little tacky to the touch and tends to pick up dirt easily. Anyone that has been on a silicone roof after a year of service will know what we are talking about.
Clean with commercially available cleaner and water first. Rinse and allow the area to dry. Be sure to also remove any loose coating by cutting back to the well-adhered coating.
Next, clean the repair area with solvent and a clean cloth. Let the solvent flash off. Only use first-grade Acetone or Virgin Paint Thinner (VMP) solvent. Avoid recycled thinner, which has more water and impurities.
2 - Rough up the surrounding silicone coating
Mechanically or physically scrub the area to be repaired until it is rough to the touch. Use a Scotch-Brite abrasive pad to scuff the coating directly around the repair.
You should be able to feel the texture in the coating; this is especially important when using the high-solids formulation of silicone, as there is minimal solvent to aid in the chemical bonding of repair materials.
Clean the area again with solvent and wait for it to flash off or dry.
3 - Use enough silicone coating
One of the most common mistakes we see is that not enough coating is used to cover the repair area and thoroughly saturate the reinforcing fabric. Apply a 24 wet mil basecoat of silicone to the repair area; use a wet mil gauge to confirm.
It will look like a lot of coating, but that’s what’s needed to make the repair successful!
4 - Reinforce
Always use reinforcing fabric in repair areas and apply it while the coating is still wet. Extend the fabric 2-4″ beyond the repair area. Install the fabric over the wet base coat similarly to paper mache. Speed tips include pre-cutting reinforcing fabric pieces to size, then dipping them into a separate container of silicone coating before application.
5 - Topcoat the repair
As soon as the fabric reinforcing is in place, apply a final coat of silicone coating at 10-16 wet mils over the reinforcing fabric, which will completely encapsulate the reinforcing fabric. It should be difficult to see the fabric’s pattern under the coating. If you can see the pattern, add a little more coating in that area.
Accessories to use with PolyBrite 90 or PolyBrite 95
PolyBrite 98 is a water-based, one-part primer/bleed blocker that enhances the adhesion of Polyglass silicone roof coatings to a variety of porous and non-porous substrates.
- Versatile for a variety of substrates
- Cures to form a tack-free coating
- Low VOC
- Non-flammable
- Rain resistant after 3 hours
PolyBrite 97X is a two-component, 1 to 1 ratio, water-based epoxy primer which enhances adhesion to a variety of porous and non-porous substrates
- Adheres well to most surfaces
- Excellent alkali resistance
Find the full range of Polglass silicon roofing products or find a sales representative near you!
Original article source: Polyglass
Learn more about Polyglass in their Coffee Shop Directory or visit www.polyglass.us.
Recommended For You

Westlake Royal Building Products introduces Dryroll™ Universal Ridge Vent and Weather Block
Read More ...
SOPREMA® Introduces New DUOTACK® SPF HFO Adhesive
Read More ...
SureCoat Metal Roof Restoration
Read More ... New Design")


Comments
Leave a Reply
Have an account? Login to leave a comment!
Sign In